How to Take a Screenshot on Computer Max
Taking screenshots on a Mac is easy, perfect for beginners. Whether it’s saving important info, showing your work, or saving a digital memory, knowing how to do it is key. This guide teaches you the ways to capture your Mac screen, boosting your computing skills.
You’ll learn about different screenshot options. You can capture the whole screen or just part of it. Mastering this enhances your productivity and communication. Get ready to capture every meaningful moment easily.
Understanding Screenshots on Your Mac
Screenshots on a Mac are great for capturing what’s on your screen. They help save important information. With Mac screenshot features, you can make images called screen captures. These are perfect for recording findings, sharing stuff, or saving video images without needing long explanations.
By default, screenshots go straight to the desktop, making them easy to get to. They’re named like “Screen Shot [date] at [time].png.” This makes it easy to find and manage your captures. But, some apps, like the Apple TV app, might stop you from taking screenshots.
Screenshots can make sharing and explaining things easier. Macs provide many ways to take them, like keyboard shortcuts and apps. This can make your work smoother. For more advice, check out this comprehensive guide.
| Shortcut | Description |
|---|---|
| Shift + Command + 3 | Capture the entire screen |
| Shift + Command + 4 | Capture a selected area |
| Shift + Command + 5 | Open the screenshot app with various options |
| Shift + Command + 4 then Space | Capture a specific window |
| Shift + Command + 6 | Capture screenshots of the Touch Bar |
Quick Keyboard Shortcuts for Screenshots
Mastering the right keyboard shortcuts makes taking screenshots on a Mac easy. You can quickly capture important info. Whether you need to capture the whole screen or just a part, these shortcuts are handy. Let’s explore the different methods available.
Related Posts:


Full-Screen Capture: Shift-Command-3
To capture your entire screen quickly, use Shift-Command-3. This captures your whole screen in a moment. Once you use this shortcut, the screenshot saves to your desktop. You can then easily access and use it. This works on various Mac systems, like macOS Mojave and Catalina.
Partial Screen Capture: Shift-Command-4
The Shift-Command-4 shortcut is great for capturing part of your screen. Press these keys and you’ll see a crosshair. Click and drag it to cover the area you want. Let go of the mouse button to save this area to your desktop. You can move your selection with the Space bar or cancel it with Esc. This gives you more control over your screenshots.
| Shortcut | Function | Automatic Save Location |
|---|---|---|
| Shift-Command-3 | Full-Screen Screenshot | Desktop |
| Shift-Command-4 | Partial Screenshot | Desktop |
| Command-Shift-5 | Access Screenshot App | Desktop |
Using keyboard shortcuts for Mac screenshots lets users capture what they need easily. These shortcuts make the process simple and boost productivity in various tasks.
Using the Screenshot App on Mac
The Screenshot app on a Mac makes capturing your screen’s images easy. It provides many options for screenshots, great for work or personal projects.
Accessing the Screenshot Tool: Shift-Command-5
Press Shift-Command-5 to open the Screenshot app. This action brings up a toolbar with choices for screen capture. You can take a shot of the whole screen, part of it, or a specific window. It’s also possible to record video of your screen. This app is made to be easy to use.
Customising Capture Options
Adjusting settings in the Screenshot app is straightforward. Before taking a shot, users have several options:
- Timer Delay: Set a timer so you have time to get everything just right.
- Save Location: Pick where your screenshots go, like the Desktop or Documents.
- Mouse Pointer: Choose to show or hide the mouse pointer in your shot.
This customisation makes the Screenshot app versatile. By adjusting settings, your screenshots will exactly meet your needs.

How to Screenshot on Computer Max
Taking screenshots on your Mac is a key skill for sharing feedback or showing how to do something. Nearly 88% of Mac users say taking screenshots is crucial for their work. Here, you’ll learn how to take, save, and edit screenshots on your Mac with ease.
Step-by-Step Instructions for Various Methods
Knowing how to capture your screen can make your work much simpler. Explore the main shortcuts below:
- Full-Screen Capture: Press Command-Shift-3 for a snapshot of your whole screen.
- Partial Screen Capture: Use Command-Shift-4 and drag the mouse to select an area to capture.
- Window Capture: Press Command-Shift-4 and the spacebar to capture a specific window.
- Clipboard Capture: Press Command-Control-Shift-3 to copy an image to the clipboard without saving it as a file.
The built-in Screenshot app is another great way to take screenshots. Hit Command-Shift-5 to open a menu with options for full screen, specific windows, or selected areas. It also lets you record your screen.
Tips on Saving and Editing Screenshots
Saving screenshots neatly can boost your productivity significantly. With the Screenshot app, you can change where your screenshots are saved. This helps in finding and using them faster, increasing efficiency by up to 40%.
Editing your screenshots is easy with the Preview app or tools like Snagit. While some prefer Preview for basic edits, others choose Snagit for more advanced features. Snagit is especially popular for its annotation and organisation tools.
Use the floating thumbnail feature to quickly annotate or delete screenshots. These tips on editing and saving will make your screenshot process more productive.
For a detailed guide on taking screenshots, visit this resource.
Advanced Features of Screenshots on Mac
The advanced screenshot features on Mac give users a more customised way to capture and organise their screens. These tools improve the user experience. They make it simpler to take and edit screenshots when needed.
Setting a Timer for Screenshots
Using a timer for screenshots on a Mac is a great tool. It allows users to get their screens ready before taking a picture. This is handy for capturing activities or layouts clearly. Through the Screenshot app, accessed by Command + Shift + 5, users can select timer options like “Off,” “5 Seconds,” or “10 Seconds.” This gives enough time to prepare, making the capture process easy.
Utilising the Floating Thumbnail
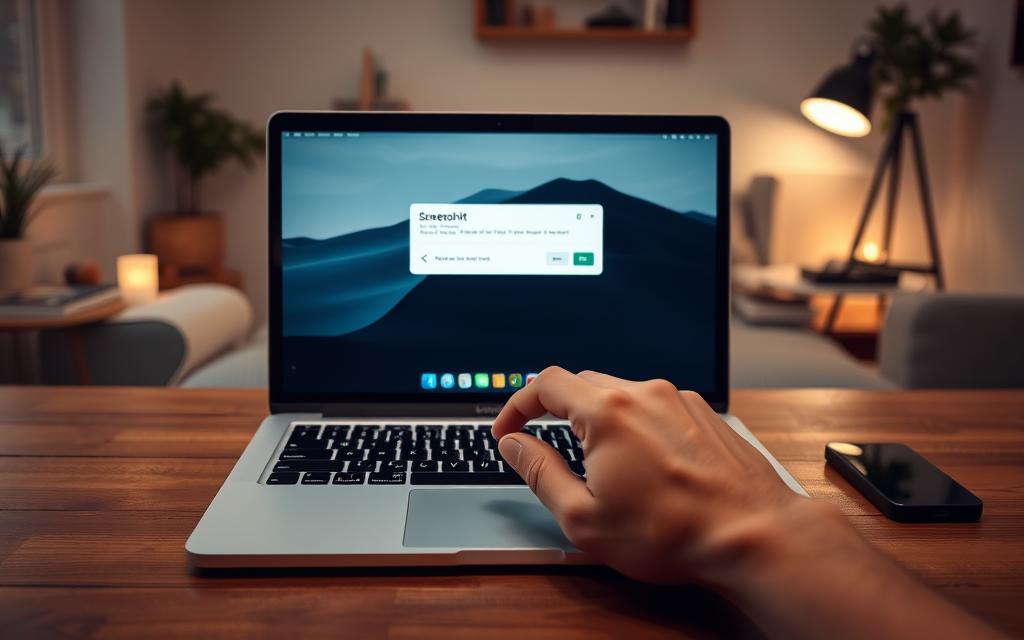
The floating thumbnail feature on Mac is innovative. It shows up right after a screenshot is taken. This thumbnail provides quick access to edit and share options, boosting productivity. Users can drag the thumbnail to documents, use markup tools, or save the screenshot to various places. This workflow shows the power of Mac’s screenshot features. It allows for quick edits and efficient image management.

Conclusion
In this article, we’ve seen many ways to take screenshots on a Mac. These methods are both simple and varied. You can capture everything on your screen, just one window, or a part of it easily. This makes work faster and helps share ideas clearly.
There are different ways to take screenshots on a Mac. For example, using Command + Shift + 3 takes a shot of the whole screen. Command + Shift + 4 allows you to select what to capture. The Screenshot app gives even more options, like recording your screen and choosing file names. All screenshots are saved as PNG files, making them easy to find.
To summarise, using screenshot tools on your Mac can make sharing and working together better. These tools let you add notes to your screenshots or send images easily. Your Mac’s screenshot abilities help make your digital communication better. Try out these tips to get more from your Mac.
FAQ
How do I take a full-screen screenshot on my Mac?
To snap a full-screen screenshot on your Mac, press Shift-Command-3. Your screenshot will save to the desktop automatically.
What if I only want to capture a specific area of my screen?
If you want to capture just part of the screen, press Shift-Command-4. Your cursor becomes a crosshair. Select the area by clicking and dragging. Once you let go of the mouse, the image saves to your desktop.
How can I access the Screenshot app on my Mac?
Press Shift-Command-5 to open the Screenshot app. It offers options to capture your entire screen, a window, or a selected area, among other features.
Is there a way to customise where my screenshots are saved?
Yes, the Screenshot app lets you choose where to save your screenshots. Pick from the Desktop, Documents, or even the Clipboard for quick use.
How can I edit my screenshots after capturing them?
After capturing a screenshot, a thumbnail briefly shows up. Click it to access markup tools for annotations. Then, save or share your edited screenshot.
Is it possible to set a timer before taking a screenshot?
Yes! In the Screenshot app, you can set a timer for your captures. This gives you time to prepare your screen before the shot.
Are there any applications that restrict screenshot capabilities?
Some apps on macOS, like the Apple TV app, may limit screenshots. Check the app’s settings if you’re having trouble taking screenshots.